Eliminating air bubbles guarantees a smooth, durable finish for amateurs and pros. As the market leader in car wraps, Metro Restyling knows that quality is crucial. To ensure a flawless application every time, we provide top-notch supplies, including premium car wrap solutions and a wide selection of vinyl wrap sheets and accessories.
This article discusses why air bubbles are a problem, how to prevent them, and a thorough, step-by-step tutorial on eliminating those annoying flaws. Our guidance is intended to assist you in confidently achieving a perfect finish, regardless of how severe your vinyl wrap air bubble problem is.
Why Vinyl Wraps Should Have Air Bubbles Give Reason for Concern
Air bubbles may compromise the quality and durability of your wrap and be a cosmetic annoyance. This is why they are essential:
- Aesthetic Impact: Bubbles ruin a vinyl wrap's smooth appearance and take away from the car's overall appeal.
- Adhesion Problems: Air pockets may cause your wrap to peel too quickly, reducing longevity.
- Moisture Infiltration: Over time, bubbles may trap moisture under the surface, causing discoloration, mold formation, or even corrosion.
- Structural Weakness: Prolonged bubbles may weaken the wrap's structure over time, making it less effective at protecting your car's paintwork.
Anyone wishing to invest in a high-end finish for their car must know the dangers of air bubbles in vinyl wrap.
Choosing High-End Vinyl Wraps
The first step in avoiding air bubbles is selecting the appropriate material. Superior vinyl is designed to be more forgiving when applied, guaranteeing improved adherence and a smoother surface.


3M
3M is well known for producing premium vinyl films that are simple to work with and long-lasting. Professionals have been using their goods for many years. 3M vinyl wraps are a dependable option for anybody serious about car looks since they help lower the chance of bubbles during installation by focusing on excellent adhesives and cutting-edge film technology.


Avery Dennison
Another industry titan, Avery Dennison, offers a selection of vinyl wraps made with accuracy and durability in mind. Because of their films' exceptional conformability and simplicity of use, the likelihood of air entrapment is reduced.


KPMF
KPMF provides high-performance vinyl wrap solutions that ensure excellent conformability and adhesion. Their products are engineered for precision and durability, making them a trusted choice for minimizing air bubble issues during installation.


Hexis
Hexis is renowned for its cutting-edge vinyl films that offer superior flexibility and a flawless finish. Their wraps are designed to resist the formation of air bubbles, providing a high-end appearance that meets the demands of professional applications.


Orafol
Orafol offers a wide range of high-quality vinyl wraps known for their durability and ease of application. Their films are a popular choice among professionals looking to achieve a smooth, bubble-free finish with exceptional consistency.


Avoiding Air Bubbles While Applying
The technique is equally as crucial as vinyl quality in achieving a flawless finish. Careful application and appropriate preparation are the first steps in preventing air bubbles. The necessary actions to guarantee a faultless result are listed below.
Give the Surface a Good Polish
Clean and polish the surface before applying your vinyl to remove dust, grime, or residue. A well-prepared surface lowers the possibility of bubbles by ensuring that the vinyl adheres uniformly. As your first line of protection against flaws, always take the time to prepare your car.
Carefully apply the wrap.
It is crucial to apply a vinyl wrap precisely. Slowly lay down the wrap, beginning at one end and working your way to the other. Do not hurry the procedure. A planned and meticulous technique may significantly reduce air bubbles on vinyl wrap.
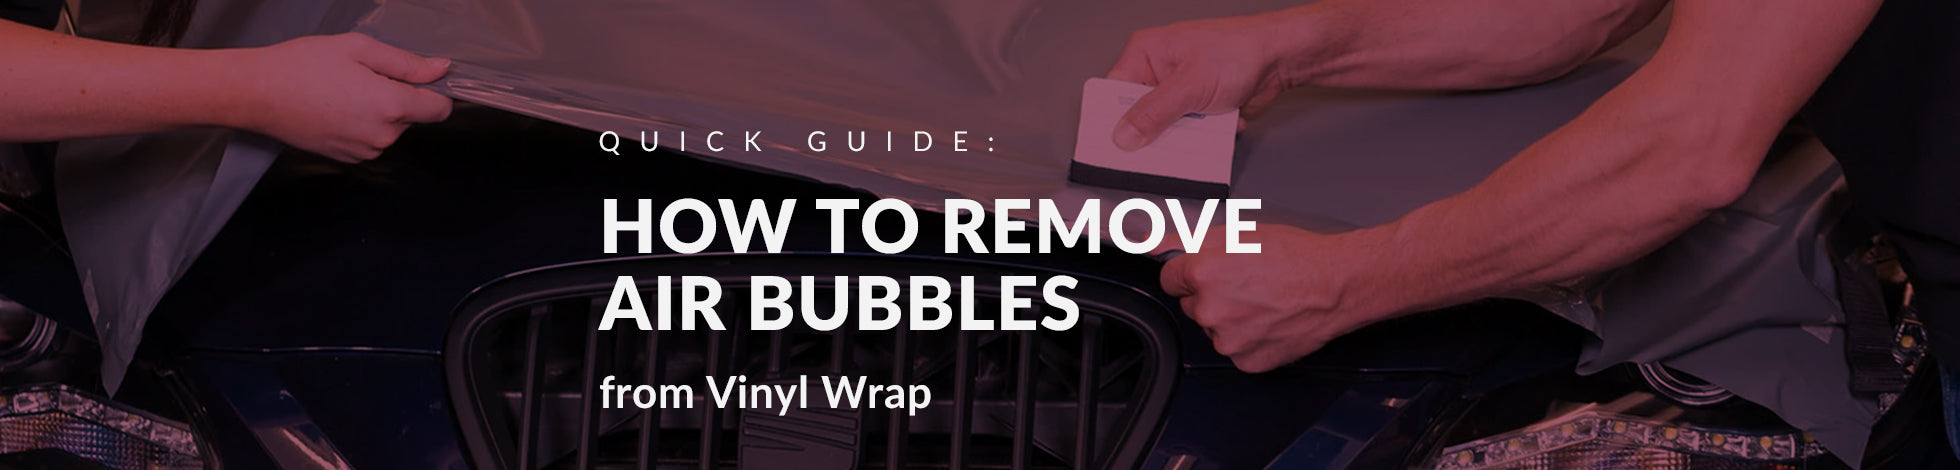
Apply a Squeegee
A good vinyl squeegee is essential for eliminating air pockets when applying vinyl. Press air with the squeegee as you use the film to guarantee a strong adhesion between the vinyl and the vehicle's surface. This little tool significantly impacts the finish, which is free of bubbles.


A Comprehensive Guide to Eliminating Air Bubbles
Air bubbles may sometimes occur during application, even with the greatest caution. Here is a thorough, step-by-step tutorial on efficiently eliminating air bubbles:
The Heat Gun
A heat gun is an essential tool for eliminating air bubbles. Gently heating vinyl and releasing trapped air can make it softer and more straightforward. Keep the heat gun moving to prevent overheating in any one area.


Pin or Needle
A needle or pin may gently puncture tiny or persistent air bubbles. After creating a little hole, press the air out with the squeegee to ensure the bubble flattens. It's crucial to be precise so as not to cause a tear.
Squeegee
After applying heat and puncturing the bubble, recheck the squeegee. Smooth out any last flaws to ensure the vinyl sticks to the surface correctly.


A Comprehensive Guide to Removing Air Bubbles
For those seeking a more thorough method, here are detailed instructions for getting rid of air bubbles from your vinyl wrap:
First, identify the air bubbles.
First, examine the vinyl wrap thoroughly. Find every place where bubbles are visible. This first evaluation is essential because it tells you where to concentrate on eliminating air bubbles.
Step 2: Clean Up the Area
Remove any loose particles or dirt from the vicinity of the bubble zones. Keeping the workstation tidy reduces the likelihood of further issues throughout the repair procedure.
Step 3: Use a Needle or Pin
Gently pierce each bubble's center with a tiny needle or pin. The trapped air may now be released thanks to this process. Don't forget that the goal is to expel the air without causing any harm to the surrounding material.
Step 4: Use Heat
A heat gun applies a regulated stream of heated air to the area. This facilitates surface smoothing and helps to relax the vinyl. The heat enhances the vinyl's adherence to the surface and allows air to escape.
Step 5: Clean Up the Space
After applying heat, use the squeegee to smooth the area. Ensure any leftover air is forced to the bubble's borders as you work outward from the center. After this last process, you should have a flawlessly smooth finish.
Advice After Installation
There are a few post-installation suggestions to make sure your wrap lasts even after you've successfully removed the air bubbles:
-
Wrap after heating
After applying heat, let the vinyl wrap cool and settle. This cooling time is essential because it enables the adhesive to adhere to the surface completely. If this stage is rushed, more bubbles may subsequently occur. -
Check for Bubbles
Recheck the wrap a few hours later to ensure no further bubbles have formed. If you see any flaws, repeat the procedures for eliminating air bubbles. Regular monitoring may prevent minor problems from turning into bigger ones during the first few days.
Take Care of Your Air Bubbles!
Avoid letting air bubbles detract from your car's appearance. By following the comprehensive instructions above, you can confidently address and correct any flaws that occur during the installation of your vinyl wrap. These methods will assist you in maintaining a perfect finish whether you are a professional installation or a do-it-yourself enthusiast.
Remember that eliminating air bubbles requires careful attention to detail, the appropriate equipment, and a systematic approach. With the proper planning, high-quality materials, and exact execution, you may obtain a beautiful outcome that improves your car's look and maintains its worth over time.
Conclusion
Creating a vinyl wrap that doesn't bubble takes art and science. Even the most obstinate air bubbles may be removed with careful planning, high-quality supplies, and a systematic technique, guaranteeing a faultless finish that endures. Metro Restyling is pleased to provide the most incredible vinyl wrap options. By offering premium materials and knowledgeable guidance on eliminating air bubbles, we are dedicated to assisting you in achieving the ideal appearance for your car.
Our tutorial includes all the information you need to eliminate vinyl wrap air bubbles, from choosing high-quality vinyl wraps to using sophisticated methods like heat guns and precise equipment. Following these comprehensive instructions and post-installation tips ensures your wrap looks fantastic and lasts longer.
Put your confidence in Metro Restyling for your car transformation requirements and professional advice on getting a perfect finish. Thanks to our industry-leading products and commitment to excellence, you will always drive away with an appearance that draws attention.
FAQ
Q: What leads to air bubbles while installing vinyl wrap?
A: Inadequate surface preparation, hurried application, or inadequate use of instruments like squeegees are the usual causes of air bubbles. Bubbles may also occur due to dust and moisture.
Q: How can air bubbles in vinyl wrap be avoided?
A: A high-quality squeegee, careful vinyl application, and thorough surface cleaning and polishing may significantly lower the chance of air bubbles. A seamless application is ensured using high-quality materials from reliable companies like 3M and Avery Dennison.
Q: Can vinyl wraps be safely heated with a heat gun?
A: When appropriately utilized, yes. A heat gun softens the vinyl and helps release trapped air. Care must be taken to prevent overheating, which might harm the material.
Q: Should I get expert assistance or resolve air bubbles alone?
A: Little air bubbles may often be corrected at home using the methods outlined in this tutorial. However, it would be wise to speak with a professional installation if the bubbles are extensive or you're unsure how to proceed.
Q: What equipment is necessary to eliminate air bubbles?
A: Essential equipment includes a heat gun, a small needle or pin, and a good squeegee. When used properly, these tools can help you give your vinyl wrap a flawless finish.
1 comment
Thomas
Video was insightful, thanks