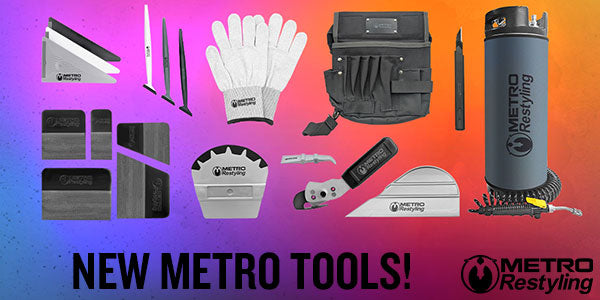
Like any other creative form, vinyl cutting requires a combination of talent, practice, and the appropriate equipment. This thorough guide seeks to shed light on the finest vinyl wrap blades to use in order to get the ideal vinyl cut, whether you're a professional artisan or a do-it-yourself enthusiast. Everything from blade types to material selections and cutting methods will be covered.
30° Blade: The Magic Angle for Fine Detailing
Why 30°?
Regarding blades, the 30° variant is often considered the gold standard for detailed work. The reasoning is simple: a sharper angle allows for more precise cuts, particularly when you are dealing with intricate designs or small lettering.
Advantages of 30° Blade:
-
Precision: Allows for accurate and detailed cuts.
-
Less Force Needed: The blade slices through the vinyl with minimal force because of the sharp angle.
-
Ideal for Thin Materials: Works exceptionally well on thinner vinyl types.
How to Use a 30° Blade
-
Install the Blade: Ensure the blade is securely fitted into the holder.
-
Test Cut: Always perform a test cut on a scrap piece to ensure optimal performance.
Note: A 30° blade may not be ideal for thicker materials; you may need a 45° or 60° blade for those.
We recommend the Olfa 30 Degree Stainless Steel Snap-Off Knife. This knife is not just a tool; it’s a craftsman’s ally in rendering the most detailed and delicate cuts, especially when working with wallpapers, contact papers, window films, caulking, and, most pertinently, vinyl. The blade automatically locks the blade for maximum security, the knife's pocket clip conveniently doubles as the blade snapper, and has a useful slide-lock mechanism.
Plastic Vs Metal: What’s Your Blade Made Of?
Material Matters
- Plastic Blades: More affordable but tend to wear out quickly.
- Metal Blades: Usually made of carbide and last longer, offering more precise cuts.
Cutting on Which Panel: Front or Back?
Choose Wisely
- Front Side: Allows for better visibility but risks damaging the top layer of the vinyl. Cutting on the installed panel can result in seeing the car's original paint
- Back Side: Minimizes the risk of surface damage but may compromise visibility. To get a paint-like finish, you will want to cut on the opposite panel and tuck the film
Best Practice: Cutting on the front side is usually easier for beginners. As you gain experience, you can experiment with back-side cutting for certain projects.
Fresh Blade: The Importance of Sharpness
When to Replace?
- Frequent tearing of material
- Inability to cut through the vinyl cleanly
- Having to apply excessive force
When to Snap Blade: Knowing the Right Moment
Breaking it Down
- Visual inspection shows dullness or wear
- The blade starts dragging instead of cutting
- You notice a decline in performance
Safety First: Always use safety gloves and proper tools when snapping a blade.
Steady and Swift Cuts: The Technique Matters
Consistency is Key
Steps for Steady and Swift Cuts
-
Position Your Hands: One hand should guide the cutter while the other holds the material.
-
Mind the Angle: Keep the blade at a consistent angle to the surface.
-
Smooth Movement: Execute the cut swiftly, unbrokenly.
Pro Tip: Practice on scrap material to hone your technique.

Although getting the ideal vinyl cut can seem impossible, it's a really gratifying craft if you have the correct information and equipment. Every stage of the process, from selecting the appropriate blade to perfecting the technique, is vital to the project's success. Assemble the appropriate resources, exercise patience, and get enough practice.
FAQ
A: While possible, using a specialized vinyl cutter is highly recommended for precision and safety.
A: You may need to switch to a 45° or 60° blade.
Q: How often should I replace my blade?
A: The frequency of replacement depends on usage but look for signs of wear or reduced performance as indicators.


